 NMRIH2 WIKI
FIELD MANUAL / OFFICIAL TUTORIAL WALKTHROUGH
No More Room in Hell 2 Tutorial & Training Range
Walk through the No More Room in Hell 2 tutorial and Training Range: core controls, combat basics, and the mechanics new players learn before a real match.
Quick answer
Walk through the No More Room in Hell 2 tutorial and Training Range: core controls, combat basics, and the mechanics new players learn before a real match.
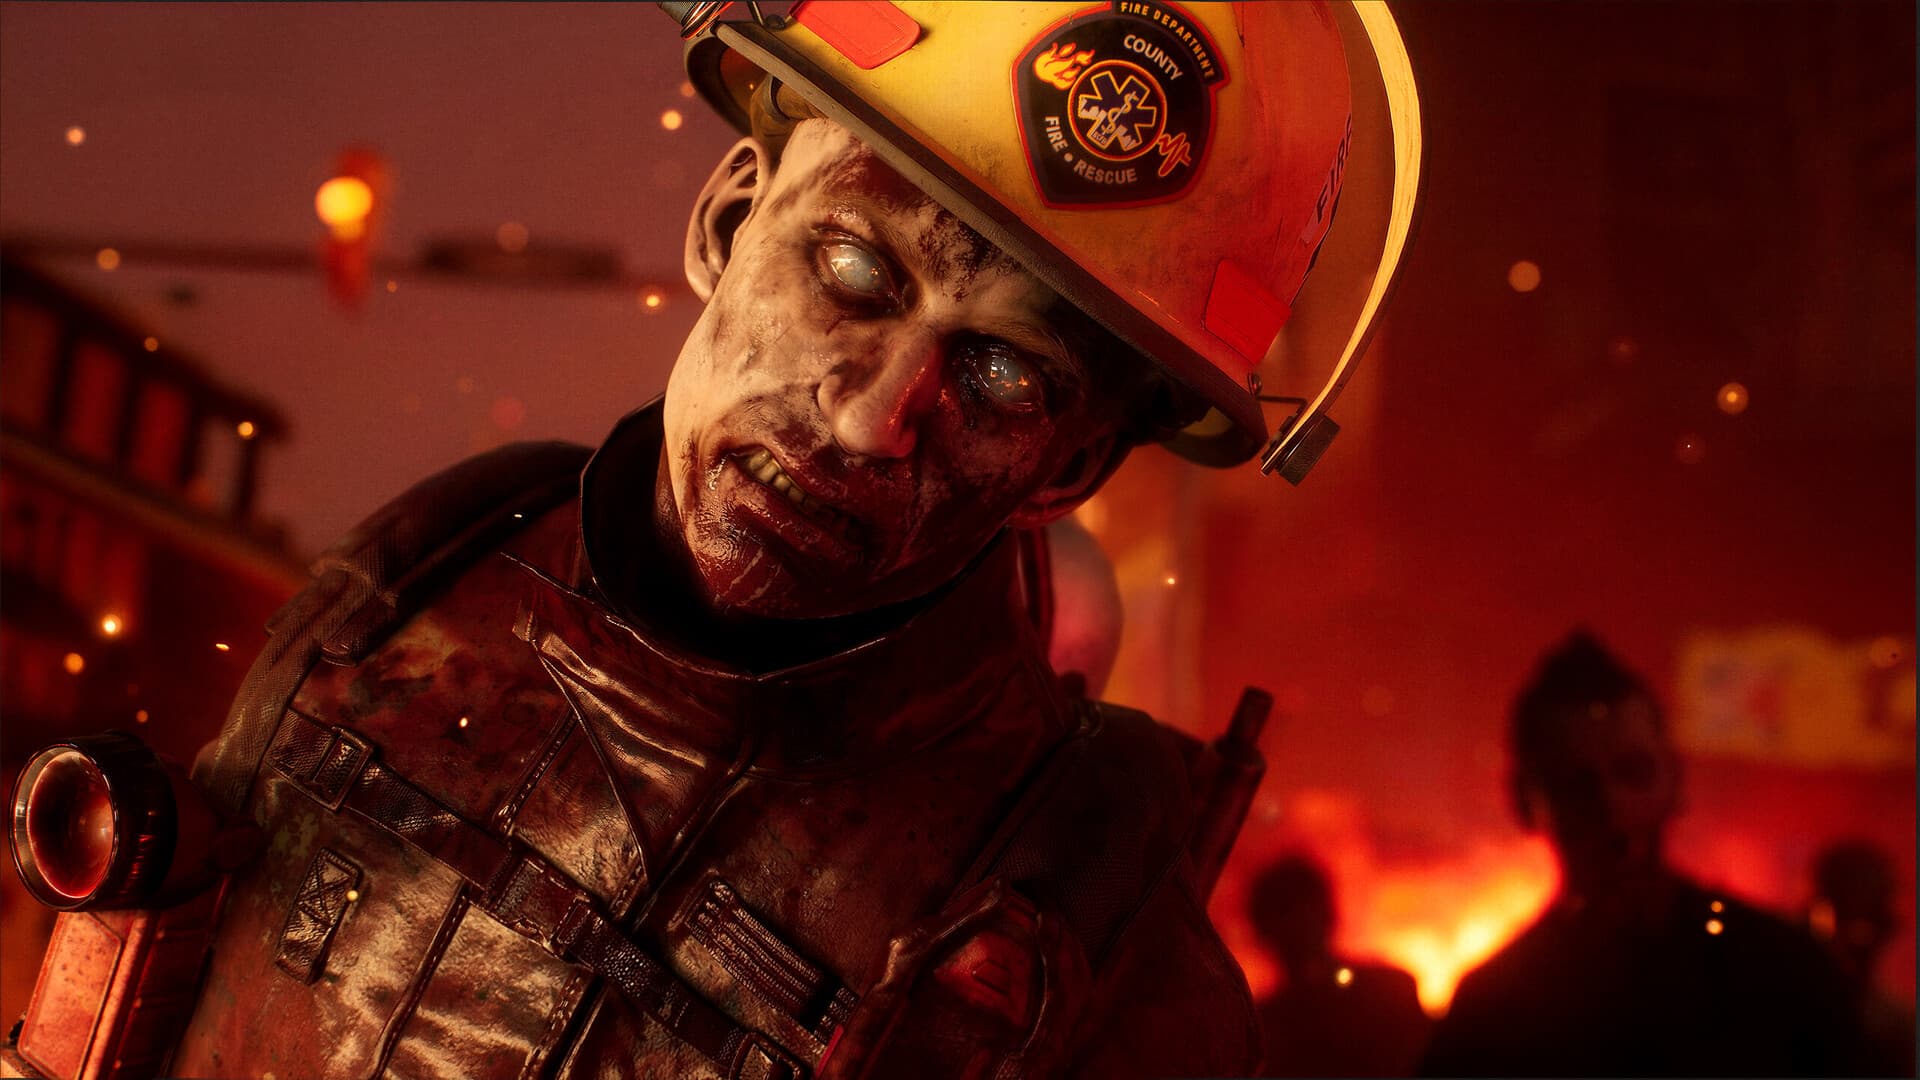
Tutorial & Training Range overview
The No More Room in Hell 2 Tutorial and Training Range teaches the controls and mechanics you need before a real match: movement, melee, firearms, objectives, inventory, medical items, and extraction.
Armageddon 1.0 added the official Tutorial led by Responder Doug. Controls change between PC, PlayStation, Xbox, and custom bindings, so this guide uses function names such as light attack, charged attack, and interact instead of hard-coding one platform's buttons.
Before you enter the training range
- Confirm the prompts for camera, movement, interaction, crouch, sprint, and flashlight.
- Do not skip the voice or screen instructions too quickly; the range is split into short exercises.
- When you see an item, identify whether it is a weapon, ammunition, medical item, light source, engineering item, or objective item before picking it up.
The point of the Tutorial is not to produce a high kill count. It is to show when each action will keep you alive during a real mission.
Stage 1: Movement, obstacles, and the flashlight
The opening exercises make you move through the training area and pass obstacles. Follow the objective marker once without trying to speedrun it. In a live mission, buildings, bodies, and teammates block your view; learning to reach the objective area and then find its entrance is more useful than memorizing one route.
The flashlight is not an unlimited light source
Turn the flashlight on to inspect a dark area, then turn it off and watch the battery cost. Use it to:
- check doors, stairs, and floors for interactable objects;
- find ammunition, medical supplies, and objective items while looting;
- show teammates where you are;
- read a zombie's distance and attack direction before melee combat.
Do not treat the flashlight as a permanent lamp. Turn it on while searching, turn it off when moving quietly or hiding, and practice switching between a two-handed weapon and light in a safe place.
Environmental hazards
The obstacle area introduces hazards such as water, electricity, fire, and dangerous gas. When a hazard is hurting you, look for a way to shut it down, go around it, or restore a safe route instead of assuming it is ordinary collision damage. Check the objective prompt and nearby switches before entering a flooded, smoking, electrified, or burning area.
You are ready to leave this stage when you can read the objective direction, control your sprint, manage the flashlight, and check the prompt when you do not know what to do next.
Stage 2: Items, supplies, and inventory
The Tutorial introduces pickups and inventory management. Every time you find an item, check three things: what it is, how much space it uses, and how it helps the current mission.
Sort items by mission value
- Ammunition: confirm the compatible firearm before carrying a box.
- Medical items: bandages and medkits address injury; infection treatment is a separate risk decision.
- Light: batteries and deployable lights support searches or fixed objectives and should be assigned to the squad deliberately.
- Engineering and objective items: fuses, tools, fuel, and other carryable objective items usually matter more than ordinary loot.
- Weapons and attachments: check for matching ammunition before taking a gun, and check compatibility before taking an attachment.
When the inventory is full, do not sort only by rarity. A high-tier gun with no ammunition may be worse than a common weapon with a usable supply. A second medical item may be less valuable than the light or objective item your squad is missing.
Make shortages visible
Resources become a squad problem in a live mission. Practice calling out information early: “I have a medkit,” “pistol ammo here,” “I am carrying the objective item,” or “I need batteries.” The team can then decide who covers at range, who carries the objective, and who keeps treatment available.
Stage 3: Melee fundamentals
The melee exercise is about rhythm, not memorizing one weapon's damage. Equip the weapon and practice light, strong, and charged attacks while watching their startup time, reach, and stamina cost.
When to use each attack
- Light attack: starts quickly and is useful against an isolated zombie or when you need to keep moving.
- Strong attack: takes more time and commitment; use it after confirming your distance and escape space.
- Charged attack: offers more threat and reach, but charging leaves you vulnerable to interruption; do not stand still charging when several zombies are close.
If the exercise asks you to swing left and right, focus on how the weapon covers space across your body. Two-handed weapons generally offer a wider swing but trade away speed, stamina, or lighting flexibility. One-handed weapons make it easier to keep a flashlight or another offhand function available.
Three common melee mistakes
- Charging in a corner until the attack finishes after the horde has surrounded you.
- Watching only the reticle and ignoring sounds from the side or behind.
- Swinging at empty air until stamina is gone, then discovering there is no retreat route.
After every practice swing, ask whether you can still step backward. Safe melee is not the biggest number on a damage screen; it is attacking and still having enough stamina to leave.
Stage 4: Injury, medical items, and infection
The medical area teaches the basic treatment flow. Open the inventory in a safe position, select a medical item, finish using it, and return to your weapon. Searching the inventory while a zombie is already attacking is often more dangerous than the original injury.
Keep these two systems separate:
- Injury needs the appropriate medical item to restore combat ability.
- Infection is a separate countdown risk that requires items such as pills or gene therapy.
Using a bandage or medkit does not mean the infection is solved. Before deploying, make sure the squad knows who carries medical supplies, who will report infection, and when it is better to stop looting and extract.
Stage 5: Objective trials and interaction logic
The objective exercise separates finding an item from completing an objective. Picking something up is not always the end of the task; read the prompt to learn where it must be carried, placed, or used.
When you reach a wiring, switch, or repair interaction, stop and read the interface. The training wiring exercise requires matching the correct labels; you cannot connect any two wires at random, and some wires may have no matching pair. After connecting them, follow the prompt to activate the switch or breaker.
Use this sequence for live objectives:
- Confirm the objective name and direction.
- Search the area for its key items.
- Leave ordinary loot behind so the inventory can carry the objective item.
- Tell the squad before starting the interaction.
- Confirm that the objective updates before moving on.
If the objective does not update, do not run straight to extraction. Check for a missing switch, second item, or interaction stage.
Stage 6: Firing range, ammunition, and attachments
At the firing range, start with a gun you understand and matching ammunition. The important lesson is the complete flow: pick up, load, aim, fire, reload, unload, and attach compatible equipment.
Check these before firing
- Which ammunition type the firearm uses;
- how much is loaded and how much is in the backpack;
- whether an attachment fits the weapon;
- whether the shots will attract nearby zombies;
- whether you still have room to switch to melee or retreat.
Do not carry the firing range's unlimited practice into a real mission. Practice accurate shots, then practice not pulling the trigger when a fight is unnecessary. When you need to conserve ammunition, learn how to unload a weapon back into your inventory, but only do it when the area is safe.
A firearm is not a complete plan
Ranged weapons can stop an immediate threat, but gunfire, ammunition, and reload time all add risk. The Weapons & Resources Guide covers how to balance melee, firearms, light, and medical supplies; during the Tutorial, learn what a gun solves and what it costs.
Stage 7: Objectives and extraction
The final lesson is that completing a training exercise is only an intermediate step. A real mission requires you to finish the objective and leave alive with useful supplies. After the objective is complete, follow the extraction prompt to the exit or regroup point.
Bravo normally extracts by helicopter. If the area cannot accept a landing, a fast-rope winch may be provided. At the extraction point, follow the on-screen carabiner or boarding interaction and keep watching the surroundings instead of treating the helicopter sound as the end of the mission.
Extraction creates three common mistakes:
- Running ahead alone and leaving the squad and medical supplies behind.
- Watching the boarding animation while ignoring zombies still approaching.
- Moving carelessly on the aircraft or rope and forgetting that a fall from height can be fatal.
Treat extraction as part of the objective. Regroup, confirm infection and ammunition, make sure everyone knows the exit, and then move through the final section together.
Checklist before your first live mission
Before entering an Objective mission, make sure you can:
- Turn the flashlight on and off and explain when batteries are worth spending.
- Distinguish light, strong, and charged melee attacks without charging while surrounded.
- Use a medical item from a safe position and return to your weapon.
- Match a firearm to its ammunition and reload or unload it.
- Read an objective prompt and confirm that it updates after an interaction.
- Keep objective items above ordinary loot in your inventory priority.
- Report infection or shortages early instead of waiting for extraction.
- Leave with the squad instead of risking a character for one last room.
What the Tutorial does not decide for you
The official Tutorial teaches the basic systems, but it does not choose every map route, squad role, or fight worth taking. For broader first-drop advice, continue with the Beginner Guide, Weapons & Resources Guide, Maps & Objectives Guide, and Infection & Permadeath Guide.
Solo Mode is useful for learning maps, objectives, and combat with lower risk, but it does not provide normal progression or reproduce the full pressure of a co-op squad. Use it to practice an objective or extraction before carrying those skills into a live mission.
Official sources and version note
This guide is based on the official Armageddon 1.0 update notes and the official update overview. If the training area, prompts, exercises, or extraction interaction change, follow the current in-game instructions:
Sources & Verification
This page separates official facts from community advice. Check the linked official pages when a patch, platform feature, or live-service detail can change.